How to Start Seeds Using Soil Blocks
In Europe, free-standing blocks of soil, rather than peat pots or seed flats, are almost universally used for starting vegetable and flower seeds. Soil block makers (I bought mine here) are used to form sets of blocks that serve as the container for starting and growing seedlings.

Not only does this eliminate the expense, waste, and storage issues associated with plastic pots/trays, but seedlings started in soil blocks re-establish themselves faster after being transplanted (and with minimal transplant shock) due to increased root surface area and "air-pruning" of the root systems.
This idea of less plastic waste (plus healthier seedlings) really appeals to me, so I almost exclusively use soil blocking here on the farm.
It's important to start with good soil. You can make your own, or there are several excellent mixes that you can buy. Either way, before starting to form the blocks, make sure you get the soil medium nice and wet...the consistency should be similar to oatmeal.


Once we had the right consistency, we started to form the blocks. Soil blocking is easy and fun, and both kids had a blast getting dirty and "playing'' in the soil!


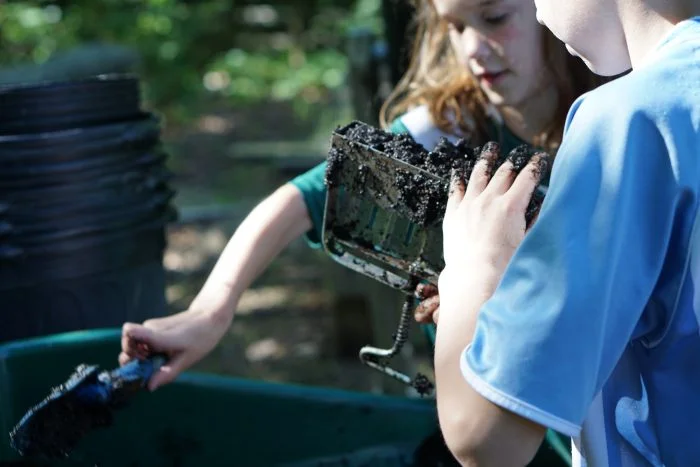
Just work the block maker into the soil, really pressing it back and forth until water starts to come up through the top. Once that happens, pick it up and scrape off the excess soil from the bottom (we started off by using a butter knife to get the bottom nice and flat, but quickly decided to just use our hands, which worked just as well).
Then, you set the soil blocker down in a tray, squeeze the lever, and release the blocks. It took one or two tries to get it right, but once we did, we were able to make over 900 soil blocks in just a few hours!


The soil blocks are formed with a small indentation in the top, making it really easy to just drop the seeds in. For the larger seeds, the kids were able to do that themselves, but for the smaller seeds I used a toothpick.


After the seeds are in the blocks, we pop the trays into the greenhouse and wait for the seedlings to grow large enough to transplant outside. As the seedlings grow, we only water them from the bottom (never from the top, as that could cause the blocks to disintegrate!). The soil blocks dry out pretty quickly, so it’s important to check them every day and water when needed.
